Archive for the ‘Raspberry Pi’ Category.

Fortnite zeitweise blockieren

This entry is part 1 of 2 in the series Pi-Hole

Ich wurde von Freunden gebeten, eine Lösung für das temporäre Blockieren von Fortnite zu geben, um ihren Kindern a) die Möglichkeit zum Spielen zu geben, aber b) auch eine zeitliche Vorgabe wirksam umsetzen zu können.

Hier möchte ich kurz beschreiben, wie ich das umgesetzt habe. Hinweis: Leider eignet sich das Skript (noch) nicht dazu, eine Spielbeschränkung hart durchzusetzen. Das Betriebssystem cached DNS-Lookups, so dass auch nach dem Ende der Spielzeit, wenn die URL wieder auf der Blacklist steht, keine Spielunterbrechung stattfindet.

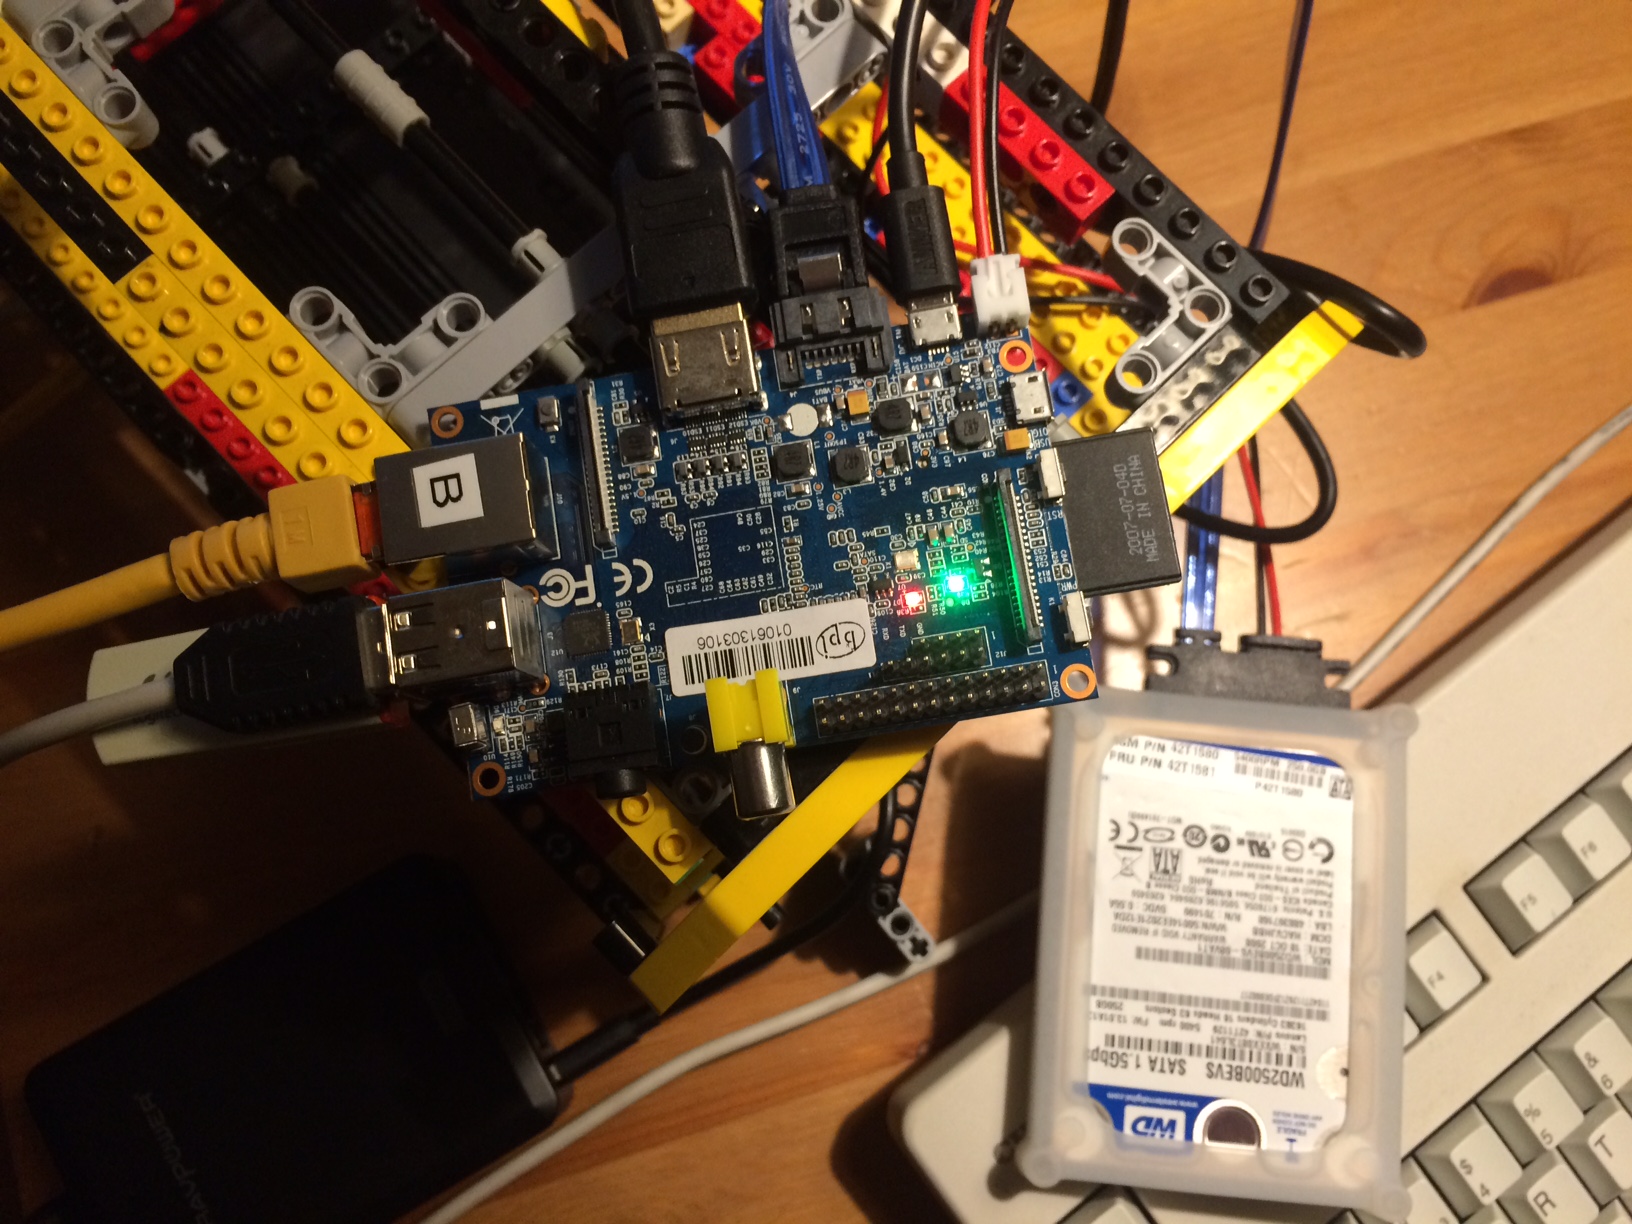
Schritt 1: Ein Pi-Hole auf einem Raspberry Pi 4 wird als DNS Server im Netzwerk eingerichtet. Der Raspi 4 war bereits vorhanden, alternativ hätte es auch ein älteres Modell getan.

Zur Installation von Pi-Hole siehe beispielsweise https://www.youtube.com/watch?v=ubzd2H1wZxE oder https://www.heise.de/tipps-tricks/Pi-Hole-auf-dem-Raspberry-Pi-einrichten-so-geht-s-4358553.html.

Schritt 2: Eine Web-Anwendung mit Flask bauen. Flask ist ein Python-Framework für Web-Applikationen, mit dem man recht schnell zu guten Ergebnissen kommt. Wir legen die folgende Datei server.py an:

import os
from flask import Flask
 
app = Flask(__name__)
 
@app.route('/')
def index():
    return('<h1>Use /on and /off to enable/disable blocking</h1>')
 
@app.route('/<status>')
def setter(status):
    if status=='off':
        os.system("/usr/local/bin/pihole regex '.*\.epicgames.com' > /home/pi/epic.log")
        return '<h1>Turning off Fortnite</h1>'
    elif status=='on':
        os.system("/usr/local/bin/pihole regex -d '.*\.epicgames.com' >/home/pi/epic.log")
        return '<h1>Turning on Fortnite</h1>'

Je nachdem, ob diese server.py mit dem Parameter /on oder /off aufgerufen wird, wird epicgames geblockt oder nicht. Den entsprechenden Aufruf von pihole habe ich unter https://www.reddit.com/r/pihole/comments/a51wjr/blocking_fortnite_monday_to_friday/ gefunden.

Schritt 3: Setzen der Umgebungsvariablen für die Flask-App mittels export FLASK_APP=server.py. Optional kann man noch export FLASK_DEBUG=1 für das Debugging nutzen.

Schritt 4: Starten der Server.py mittels nohup flask run --host=192.168.0.91 & Dieser Aufruf sorgt dafür, dass auch nach dem Beenden der Shell das Programm weiterläuft. Als host muss man natürlich die IP-Adresse des Raspi nutzen.

Unter 192.168.0.91/on bzw. 192.168.0.91/off kann man jetzt die Blockierung an- bzw. ausschalten, diese URLs lassen sich auch gut auf dem Mobiltelefon wie eine App ablegen.

Verbesserungspotential besteht noch:

  • Nach dem Neustart des Raspi muss auch das Skript neu gestartet werden, das sollte man automatisieren. (Hinweis: Ich habe versucht, https://blog.miguelgrinberg.com/post/running-a-flask-application-as-a-service-with-systemd zu folgen, klappt aber noch nicht.)
  • Es kann sein, dass Pi-Hole auch ein Caching vornimmt und das Blockieren nicht sofort greift.
  • Flask läuft hier in einem DEV-Modus, für „Produktionsumgebungen“ empfiehlt sich ein WSGI-Server
  • Ein Aktivieren für einen bestimmten Zeitraum mit folgender automatischer Blockierung ist noch nicht implementiert, mit atd und cron sollte das aber möglich sein.

Uwe

Uwe Ziegenhagen likes LaTeX and Python, sometimes even combined. Do you like my content and would like to thank me for it? Consider making a small donation to my local fablab, the Dingfabrik Köln. Details on how to donate can be found here Spenden für die Dingfabrik.

More Posts - Website

Raspi 4, Libreelec und das Argon One Gehäuse

Für einen meiner Raspberry Pi 4, den ich vor allem als Mediacenter mit Kodi nutzen möchte, habe ich mir ein Argon One Gehäuse bestellt.

Die Installation des Pi im Gehäuse war leicht, die Passform ist gut. Die Installation der Software war aber ein wenig hakelig, daher möchte ich sie hier kurz beschreiben.

Für die folgenden Dinge aktiviert man in Libreelec den SSH-Zugang, mittels User „root“ und Passwort „libreelec“ kommt man dann z.B. via Putty auf den Pi. Da man als root unterwegs ist, entfallen sudo Befehle.

Als erstes installiert man folgende Addons aus dem Libreelec Repo: „Raspberry Pi Tools“ und „System Tools“

Die Argon-Software für Libreelec erhält und führt man aus mittels

curl https://download.argon40.com/argonone-setup-libreelec.sh | bash

Das normale Skript für Raspian (https://download.argon40.com/argon1.sh) funktioniert hier m.E. nicht, es muss die Version für Libreelec sein.

Das Skript für die Konfiguration kann man dann mittels ./argonone-config ausführen. Standardmäßig ist der Lüfter so eingestellt, dass er bei 90° C auf 100% springt. Möchte man das anpassen, kann man mittels nano argononed.conf die Konfiguration anpassen.

LibreELEC:~ # nano argononed.conf
#
# Argon One Fan Speed Configuration
#
# Min Temp=Fan Speed

45=25
65=50
90=100

Mittels reboot oder systemctl restart argononed.service kann man den Dienst (neu) starten.
Die aktuelle Temperatur erhält man übrigens mittels vcgencmd measure_temp.

Uwe

Uwe Ziegenhagen likes LaTeX and Python, sometimes even combined. Do you like my content and would like to thank me for it? Consider making a small donation to my local fablab, the Dingfabrik Köln. Details on how to donate can be found here Spenden für die Dingfabrik.

More Posts - Website

CUPS auf dem Raspi installieren, mit iOS drucken

Um vom iPhone und iPad drucken zu können, habe ich heute meinen Raspi (der in der Unterversorgung hängt und damit 24/7 läuft) mit CUPS versehen. Ich bin dabei der Anleitung von https://www.elektronik-kompendium.de/sites/raspberry-pi/2007081.htm gefolgt, es lief ohne Probleme.

Als etwas komplizierter hat sich die Duplizierung eines Druckers erwiesen. Ich habe sowohl die entsprechende ppd-Datei als auch den Eintrag in der printers.conf angepasst, jedoch sehen die iOS-Geräte nur den ersten Drucker.

Die Lösung dazu habe ich auf https://www.johnlose.de/2018/02/drucker-airprint-faehig-machen-auf-ubuntu-16-04-airprint-cups-ubuntu-xenial/ gefunden: der avahi-Daemon war noch nicht vollständig konfiguriert, der die Bonjour-Erkennung übernimmt.

Mit wget https://raw.githubusercontent.com/tjfontaine/airprint-generate/master/airprint-generate.py kann man jedoch ein Python-Skript herunterladen, das die Erzeugung der Drucker-Dateien übernimmt, die man dann nach /etc/avahi/services verschiebt. Nach dem Neustart des Dienstes mittels /etc/init.d/avahi-daemon restart findet das iPhone dann auch den Drucker vie Airprint, einmal für einseitig, einmal für zweiseitig.

Update: Aktuell druckt der Drucker nur über den einen nicht-AirPrint-Server, warum weiß ich noch nicht.

Uwe

Uwe Ziegenhagen likes LaTeX and Python, sometimes even combined. Do you like my content and would like to thank me for it? Consider making a small donation to my local fablab, the Dingfabrik Köln. Details on how to donate can be found here Spenden für die Dingfabrik.

More Posts - Website

Pi Cluster reloaded

This entry is part 5 of 5 in the series Raspberry Cluster

For months it has been quiet on this front, recently I have started again my efforts to have a working cluster of Raspberry PIs. I purchased a few Pi 3 (Cyberport offered them for 29,95 Euro a piece), a Logitech 8-port hub (from Pollin, around 10 Euro) that works with 5V and therefore should work by USB power. Right now I built the stack of PIs (4 Pi 2, 4 Pi 3) by connecting all of them using M2.5 nylon spacers from Banggood. As power supply I am using an Aukey PA-T8 USB charger with 10 3.0 USB ports that deliver 70W in total.

Uwe

Uwe Ziegenhagen likes LaTeX and Python, sometimes even combined. Do you like my content and would like to thank me for it? Consider making a small donation to my local fablab, the Dingfabrik Köln. Details on how to donate can be found here Spenden für die Dingfabrik.

More Posts - Website

Configuring the Samba server on the Bananapi

This entry is part 4 of 5 in the series Raspberry Cluster

Configuring the samba server and having it use the attached 2,5″ HDD was actually pretty easy.

Step 1: Mounting the harddisk

From http://mein.homelinux.com/wiki/linux/mounten I learnt how to add the attached harddisk to the fstab. blkid gave me the UUID of the disk (which I had previously partioned and formated with gparted), so I just had to a) create a directory /media/storage, b) set the access rights with chmod 777 /media/storage and add the following line to the fstab:

UUID=b06c9eb6-7cc3-429b-9176-44896e712319 /media/storage ext4 auto,defaults 0 2

Step 2: Installing samba

sudo apt-get install samba installed samba, but not smbpasswd. A quick sudo apt-get install samba-common-bin fixed this.

After I had created a „bananapi“ user on the machine I added this account to the list of samba users with the command smbpasswd -a bananapi. I then took the sample configuration for the /etc/samba/smb.conf from https://www.thomas-krenn.com/de/wiki/Einfache_Samba_Freigabe_unter_Debian and rebooted the machine.

From my Windows machine I can connect now to \\bananapiip\public and use it as a samba server. When copying a 1 GB iso image to the \public share I got an avaerage of 35 MB per second.

Remarks 2020-06-06:

[global]
workgroup = smb
security = user
map to guest = Bad Password

[homes]
comment = Home Directories
browsable = no
read only = no
create mode = 0750

[public]
# chmod -R 777 /home/uwe makes it publicly accessible
path = /home/uwe/
public = yes
writable = yes
comment = smb share
printable = no
guest ok = yes

Uwe

Uwe Ziegenhagen likes LaTeX and Python, sometimes even combined. Do you like my content and would like to thank me for it? Consider making a small donation to my local fablab, the Dingfabrik Köln. Details on how to donate can be found here Spenden für die Dingfabrik.

More Posts - Website

Setting up the cluster

This entry is part 3 of 5 in the series Raspberry Cluster

Since the case is pretty much complete now, it is time to take a look at the software. I finally decided to run Raspian on the PIs and Lubuntu on the Banana Pi. While there may be other (maybe even more suitable) OSes available I think is the best starting point for my project. The Banana Pi is equipped with Lubuntu.

After booting the Banana Pi I switched to the German keyboard layout (unfortunately the corresponding GUI is horrible). Afterwards the usual apt-get update and apt-get upgrade took care of software updates.

The next steps are the configuration of a static IP as well as the installation of the SSH demon and samba.

Banana Pi updating

EDIT

I just learnt about Bananian which is based on Debian 7. It does not provide a desktop environment, so a 2 GB SD card is said to be sufficient. Since I just want the Bananapi to act as samba server all the Lubuntu features are pretty irrelevant for me.

It also has a sshd running

Uwe

Uwe Ziegenhagen likes LaTeX and Python, sometimes even combined. Do you like my content and would like to thank me for it? Consider making a small donation to my local fablab, the Dingfabrik Köln. Details on how to donate can be found here Spenden für die Dingfabrik.

More Posts - Website

Building a case for the Raspberry 2 cluster

This entry is part 2 of 5 in the series Raspberry Cluster

Just putting 6 microcontrollers on the table won’t work long (low WAF) so I decided to use the vast amount of my Lego Technic components to build a suitable case. In the future I might switch to a custom-made Acryl case (I could use the Dingfabrik’s laser cutter) but for quick prototyping nothing beats LEGO. For this project I had to buy a few extra components, among them two dozen LEGO 55615 which drove the costs a little.

IMG_7950

IMG_7953

IMG_7963

IMG_7973

IMG_7980

IMG_7983

Uwe

Uwe Ziegenhagen likes LaTeX and Python, sometimes even combined. Do you like my content and would like to thank me for it? Consider making a small donation to my local fablab, the Dingfabrik Köln. Details on how to donate can be found here Spenden für die Dingfabrik.

More Posts - Website

Building a Raspberry Pi 2cluster

This entry is part 1 of 5 in the series Raspberry Cluster

Big Data, Hadoop, NumPy, R cluster computing etc. are pretty hot topics. To get my hands on them and get a deeper understanding I have decided to build my own cluster out of small Raspberry Pi 2 computers. I am not the first one to come up with this idea, you can find a few nice examples online.

I have decided to use five Raspberry Pi 2 and one Banana Pi in this cluster. The Banana Pi has the advantage of being equipped with a Serial ATA port, my plan is to use it to store the data the Raspberries are working on.

The general setup is the following:

  1. 5 x Raspberry Pi 2 from Pollin for 37.95 Euro each
  2. A TP-Link 8-Port Gigabit Switch for 20.99 Euro
  3. a 6-Port RAVpower USB power source (3 x 1.0 Amp, 3 x 2.4 Amp) for 17.99 Euro
  4. a couple of five micro USB cables for 12.99 Euro
  5. Identical 16 GB micro-SD cards from Sandisk, Class 10 for 10.99 each
  6. the Banana Pi (I got mine from notebooksbilliger.de for 33.89 Euro)
  7. a SATA Power/Data cable to connect a 2.5″ harddisk to the Banana Pi

So altogether I spent around 320 for the electronic parts, some other parts (like SD card and USB cable for the Banana Pi) I had in my stash.

In the next article of this series I’ll describe the case I am currently building out of Lego Technics parts…

Uwe

Uwe Ziegenhagen likes LaTeX and Python, sometimes even combined. Do you like my content and would like to thank me for it? Consider making a small donation to my local fablab, the Dingfabrik Köln. Details on how to donate can be found here Spenden für die Dingfabrik.

More Posts - Website

Printing from iOS via Raspberry Pi

Today I successfully managed to configure my Rapsberry Pi in such way, that I can print on my HP LaserJet 4100 from my iOS devices. I followed the instructions from http://rohankapoor.com/2012/06/configuring-the-raspberry-pi-as-an-airprint-server/. Be aware that for iOS 6 some adjustments need to be made, see the end of the instructions.

Besides the configuration instructions on the above mentioned page I had to enable the IPv6 privacy extensions, since cups gave me the following errors in /var/log/cups/error_log:


E [05/Jan/2013:19:23:40 +0100] Unable to open listen socket for address [v1.::1]
:631 - Address family not supported by protocol.
E [05/Jan/2013:19:24:57 +0100] Avahi client failed, closing client to allow a cl
ean restart
E [05/Jan/2013:19:26:24 +0100] Unable to open listen socket for address [v1.::1]
:631 - Address family not supported by protocol.

To configure these extensions I added the following lines to /etc/sysctl.conf:


net.ipv6.conf.default.use_tempaddr=2
net.ipv6.conf.eth0.use_tempaddr = 2

The last step was then to change the IP address to static (should not be necessary, since iOS should be able to find the printserver anyway, but one never knows…) following the instructions from http://www.penguintutor.com/blog/viewblog.php?blog=6306

German summary: Um mit meinem alten HP Laserjet 4100 vom iPad drucken zu können, habe ich einen Raspberry Pi nach einer Anleitung im Internet konfiguriert.

Uwe

Uwe Ziegenhagen likes LaTeX and Python, sometimes even combined. Do you like my content and would like to thank me for it? Consider making a small donation to my local fablab, the Dingfabrik Köln. Details on how to donate can be found here Spenden für die Dingfabrik.

More Posts - Website

Artikel zum Raspberry Pi bei SPON

Spiegel online hat einen recht umfangreichen Artikel zum Raspberry Pi veröffentlicht: http://www.spiegel.de/netzwelt/web/raspberry-pi-die-besten-projekte-fuer-den-46-euro-pc-a-874993.html

Uwe

Uwe Ziegenhagen likes LaTeX and Python, sometimes even combined. Do you like my content and would like to thank me for it? Consider making a small donation to my local fablab, the Dingfabrik Köln. Details on how to donate can be found here Spenden für die Dingfabrik.

More Posts - Website